Evisa for Vietnam: Official Application, Fees and Travel Checks
November 04, 20266 min read
Applying for an evisa for Vietnam can be straightforward, but a wrong passport number, unsuitable entry type or missed validity date can disrupt a trip. This guide explains the official application route, fees and checks to complete before departure.
Information checked on 4 November 2026. Confirm the current instructions on the official government portal before applying.
What an e-visa covers and which website to use
Vietnam's electronic visa is issued through an online system by the Immigration Department. Its official guidance states that validity can be up to 90 days, with single or multiple entry. “Up to” is important: plan from the dates and conditions printed on your own approval, rather than assuming that every application gives a fresh 90-day stay on arrival.
The department directs applicants to evisa.gov.vn and thithucdientu.gov.vn. Type or bookmark the address carefully. An agency website may provide a separate service, but its branding and search position do not make it the government portal.
Before choosing this route, establish whether your nationality, passport type and travel purpose require a visa or qualify for a different arrangement. A friend's experience is not a reliable decision rule for your passport. If an exemption may apply, check its current conditions with the Immigration Department or the Vietnamese mission responsible for your place of residence.
Keep entry planning separate from destination planning. Our Da Nang travel guide can help shape an itinerary, but sightseeing plans do not determine immigration permission.
Prepare your passport, images and travel details
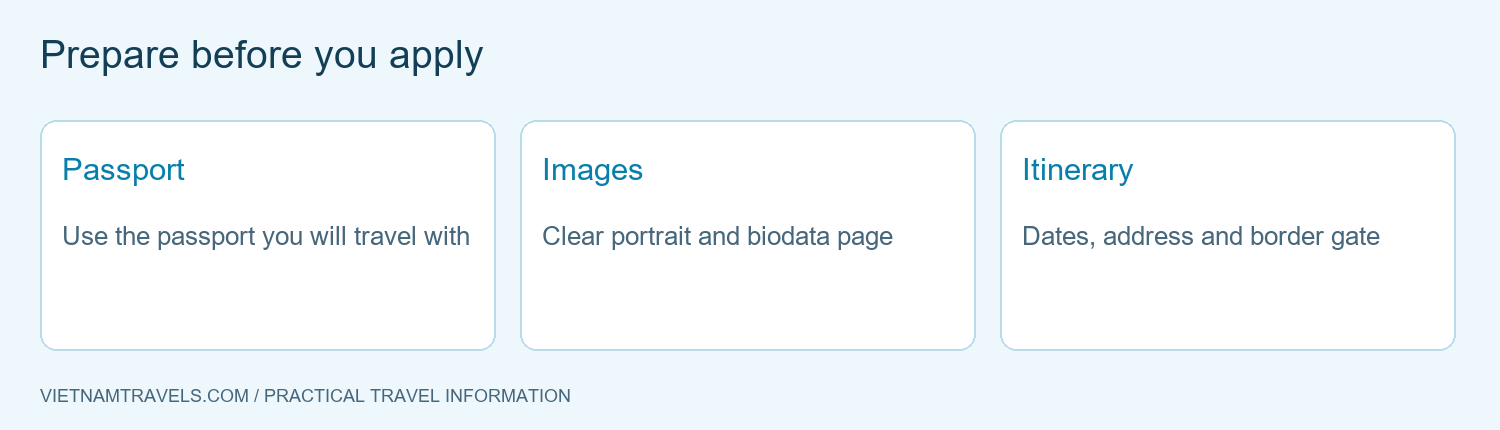
Prepare clear documents and a coherent itinerary before opening the application.
The Public Service Portal of the Ministry of Public Security describes uploading a portrait photograph and the passport biodata page. Follow the live portal's image specifications when you apply; do not rely on an old tutorial's file-size or cropping rules.
Passport: use clear details from the same document you intend to present during travel. Avoid entering an old passport number from a saved booking profile.
Portrait and biodata images: check readability at normal size. Reflections, cropped corners or blurred text make review harder.
Travel details: prepare intended arrival and departure dates, an accommodation address and the border crossing relevant to the actual journey.
Email and payment: use an inbox you can access while abroad and a payment method suitable for the portal.
If an accommodation address appears differently in an older booking confirmation, check the property's current address. Vietnam's administrative changes can make old and new place names appear together; our guide to Vietnam's updated administrative map explains the wider context. Enter what the official application requests and ask the property for clarification when needed.
Do not send passport scans to an unverified social-media account for convenience. Keep your own working copies secure and share documents only through the service you deliberately choose.
Apply online without losing track of the details
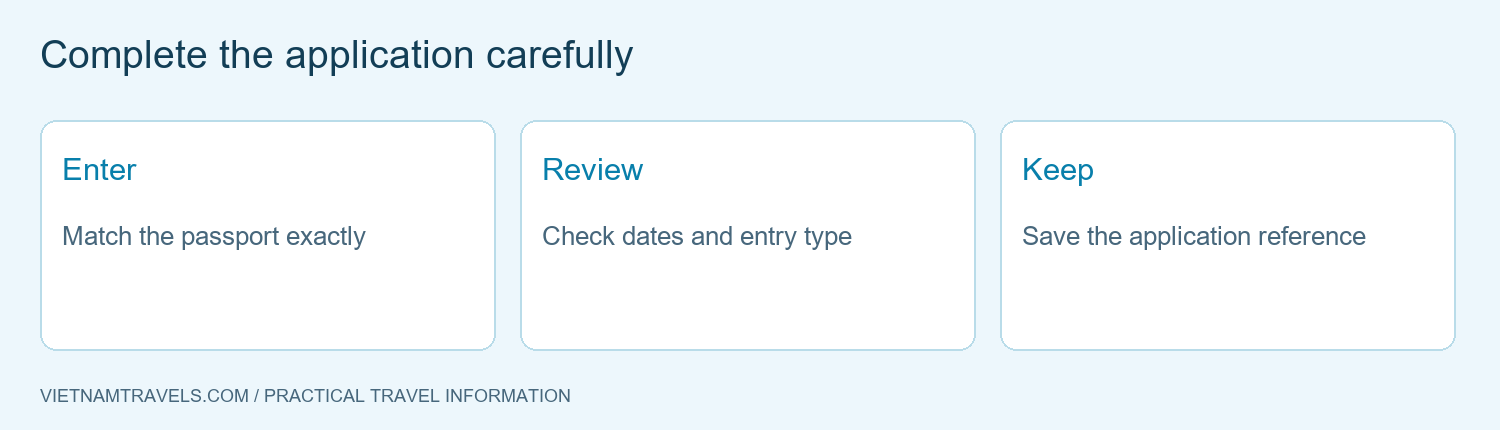
A careful review is more useful than rushing to the payment screen.
Use the current portal's sequence and instructions, because screen labels can change. The practical workflow is to prepare the form, review the information, complete the required payment step and retain the application reference.
Open the official portal. Check the domain before uploading personal information. Start from the government links above rather than a sponsored result that merely looks official.
Enter passport details carefully. Compare names, nationality, document number and dates directly with the passport. Do not improvise name order if the form's help text specifies how to enter it.
Choose the entry type for your itinerary. A trip that leaves Vietnam and later returns needs a different assessment from a trip that stays inside the country.
Review the intended validity and crossing. Check the live list of permitted border gates. Do not assume that an arrival by land follows the same arrangements as an international flight.
Keep the reference and payment evidence. Save the application code somewhere accessible without relying on one device or one email notification.
Once submitted, monitor the status through the official channel. A submitted form or successful payment is not the same as an approved visa. If the system requests further information, read the instruction fully before sending an amendment.
Fees, processing time and common planning mistakes
Government fees are separate from any optional intermediary service charges.
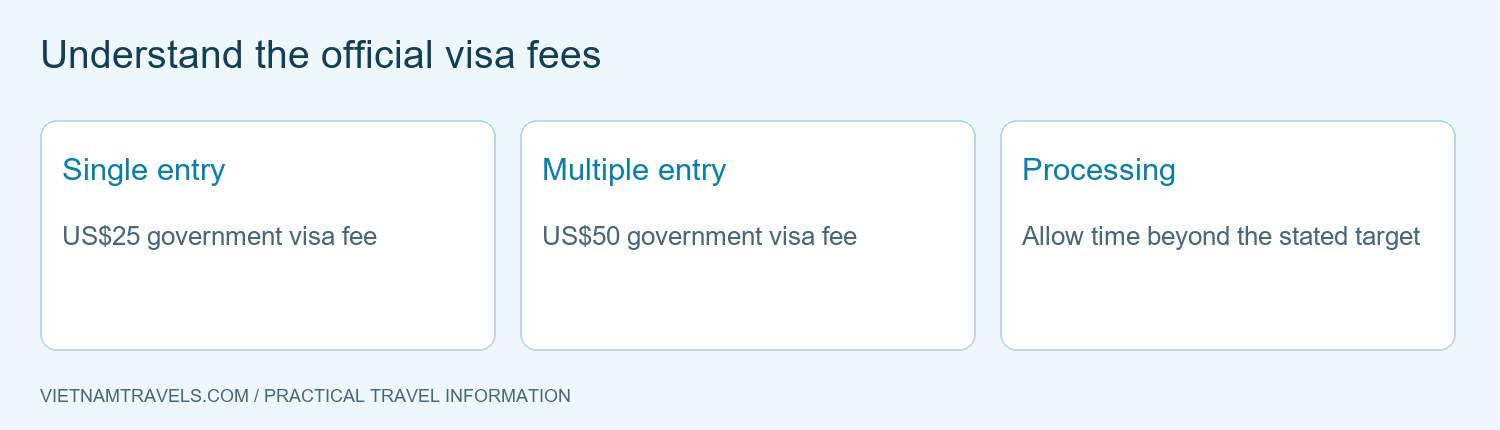
The Ministry of Public Security procedure lists a government fee of US$25 for single entry and US$50 for multiple entry. It states a processing target of three working days after receipt of the application and visa fee. Treat this as the published administrative timeline, not a promise that every application will be ready before a particular flight.
The Immigration Department says the fee is not refunded if an application is refused. An intermediary may charge additional fees; compare the full service description rather than assuming a higher price is an official government requirement.
Allow a buffer: apply early enough to handle questions, corrections and non-working days. Avoid making an essential departure depend on the shortest stated timeline.
Separate processing from travel validity: the time taken to issue a document is not its permitted period of use.
Check the whole journey: if you intend to leave and return, review the entry type before payment rather than discovering the problem at the border.
Use official support for unresolved cases: do not rely on a third party's guarantee of approval or a comment thread promising a shortcut.
If flights are part of a complex itinerary, compare our international connections overview with your airline's current schedule. Confirm immigration permission separately before treating any transport booking as a complete entry plan.
Quick Recap
Check the approved document itself, not just an application receipt.
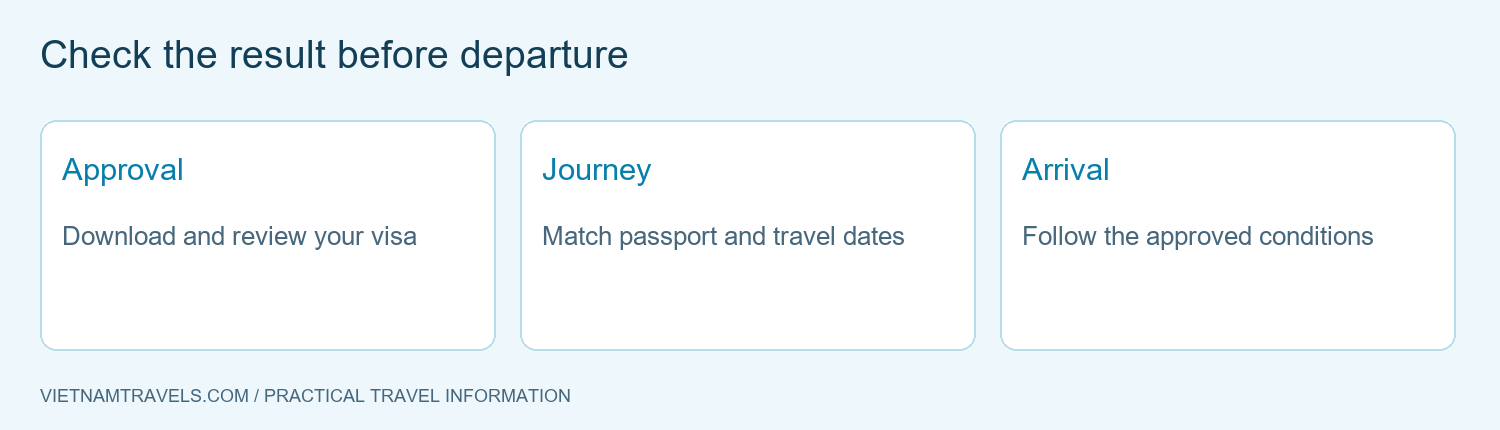
For an evisa for Vietnam, the final check belongs to the document you receive. Download the approval, inspect the passport details, validity dates and entry conditions, and keep a printed copy alongside an accessible digital copy. The Ministry's procedure specifically describes checking and printing the electronic visa using the application code.
Before departure, compare the approval with your passport and actual itinerary. If something is wrong, seek guidance through the official process before traveling; do not assume that an airline or a border officer can simply correct an application mistake on arrival.
The most reliable preparation is a clear sequence: establish the right entry arrangement, apply through the official channel, retain your reference, monitor the result and travel within the approval's conditions. For circumstances that do not fit the standard tourist journey, ask the Immigration Department or the relevant Vietnamese mission for case-specific guidance.